Build a WebSocket App: Node.js Cursor Sharing Tutorial
This post provides detailed, step-by-step instructions on building a realtime web app with WebSockets and Node.js - an interactive cursor position-sharing demo. Building a WebSocket application from scratch provides valuable insights into the underlying mechanics of real-time communication, helping developers understand the challenges and considerations involved in creating responsive, interactive web experiences.
The cursor-sharing demo shows a common real-time pattern: broadcasting user actions to all connected clients. This foundation extends to collaborative tools like shared whiteboards, document editing, and multiplayer games.
Running the Demo
Section titled “Running the Demo”> git clone https://github.com/ably-labs/WebSockets-cursor-sharing.git> npm install> npm run startThis demo includes two applications: a web app that we serve through Snowpack, and a Node.js web server. The NPM start task spins up both the API and the web server.
Snowpack serves the frontend while the Node.js backend manages WebSocket connections and message broadcasting.
The demo should look as depicted below:
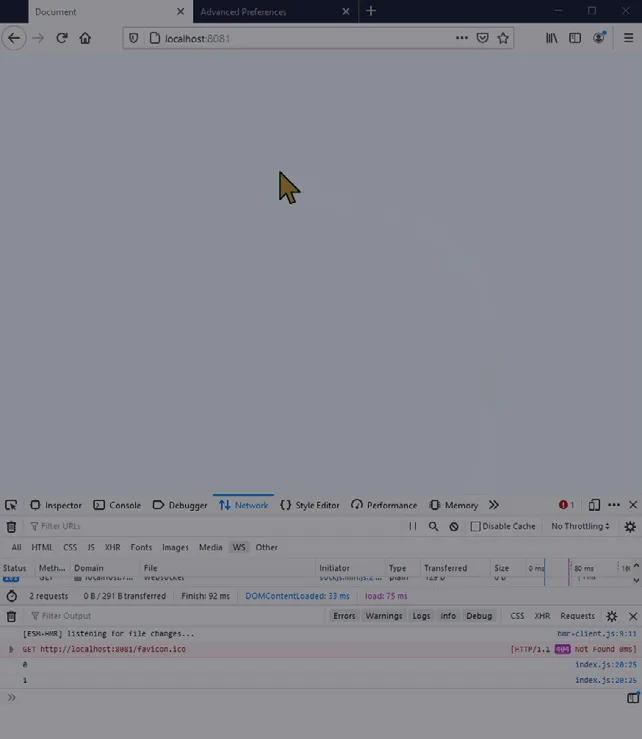 Figure 4.1: Realtime cursor movement powered by the ws WebSockets library
However, if you are running the demo in a browser that does not support WebSockets (e.g., IE9 or below), or if you are restricted by particularly tight corporate proxies, you will get an error saying that the browser can’t establish a connection:
 Figure 4.2: Error message returned by the browser when a WebSocket connection
can’t be established
Figure 4.2: Error message returned by the browser when a WebSocket connection
can’t be established
This is because the ws library offers no fallback transfer protocols if WebSockets are unavailable. If this is a requirement for your project, or you want to have a higher level of reliability of delivery for your messages, then you will need a library that offers multiple transfer protocols, such as SockJS.
Corporate firewalls, proxy servers, and legacy network infrastructure can block WebSocket connections, creating reliability gaps in production. For applications that must work in restrictive environments, fallback mechanisms are essential. See this evaluation of current WebSocket support.
SockJS — a JavaScript library to provide WebSocket-like communication
Section titled “SockJS — a JavaScript library to provide WebSocket-like communication”SockJS is a library that mimics the native WebSocket API in browsers. Additionally, it will fall back to HTTP whenever a WebSocket fails to connect, or if the browser being used doesn’t support WebSockets. Like ws, SockJS requires a server counterpart; its maintainers provide both a JavaScript client library, and a Node.js server library.
Using SockJS in the client is similar to the native WebSocket API, with a few small differences. We can swap out ws in the demo built previously and use SockJS instead to include fallback support.
Updating the interactive cursor position sharing demo to use SockJS
Section titled “Updating the interactive cursor position sharing demo to use SockJS”To use SockJS in the client, we first need to load the SockJS JavaScript library from their CDN. In the head of the index.html document we built earlier, add the following line above the script include of index.js:
<script src="https://cdn.jsdelivr.net/npm/sockjs-client@1/dist/sockjs.min.js" defer></script>Note the defer keyword — it ensures that the SockJS library is loaded before
index.js runs.
In the app/script.js file, we then update the JavaScript to use SockJS. Instead of the WebSocket object, we’ll now use a SockJS object. Inside the connectToServer function, we’ll establish the connection with the SockJS server:
const ws = new SockJS('http://localhost:7071/ws');SockJS requires a prefix path on the server URL. The rest of the app/script.js file requires no change.
Next, we have to update the API/script.js file to make our server use SockJS. This means changing the names of a few event hooks, but the API is very similar to ws.
First, we need to install sockjs-node. In your terminal run:
> npm install sockjsThen we need to require the sockjs module and the built-in HTTP module from Node. Delete the line that requires ws and replace it with the following:
const http = require('http');const sockjs = require('sockjs');We then change the declaration of wss to become:
const wss = sockjs.createServer();At the very bottom of the API/index.js file we’ll create the HTTPS server and add the SockJS HTTP handlers:
const server = http.createServer();wss.installHandlers(server, { prefix: '/ws' });server.listen(7071, '0.0.0.0');We map the handlers to a prefix supplied in a configuration object (‘/ws’). We tell the HTTP server to listen on port 7071 (arbitrarily chosen) on all the network interfaces on the machine.
The final job is to update the event names to work with SockJS:
// ws.on('message', /* ... */) will become ws.on('data', /* ... */)// client.send(outbound); will become client.write(outbound);And that’s it, the demo will now run with WebSockets where they are supported; and where they aren’t, it will use Comet long polling. This latter fallback option will show a slightly less smooth cursor movement, but it is more functional than no connection at all!
Running the SockJS demo
Section titled “Running the SockJS demo”Run the SockJS version by checking out the sockjs branch of the same
repository (git clone -b sockjs https://github.com/ably-labs/WebSockets-cursor-sharing.git),
then npm install && npm run start as before.
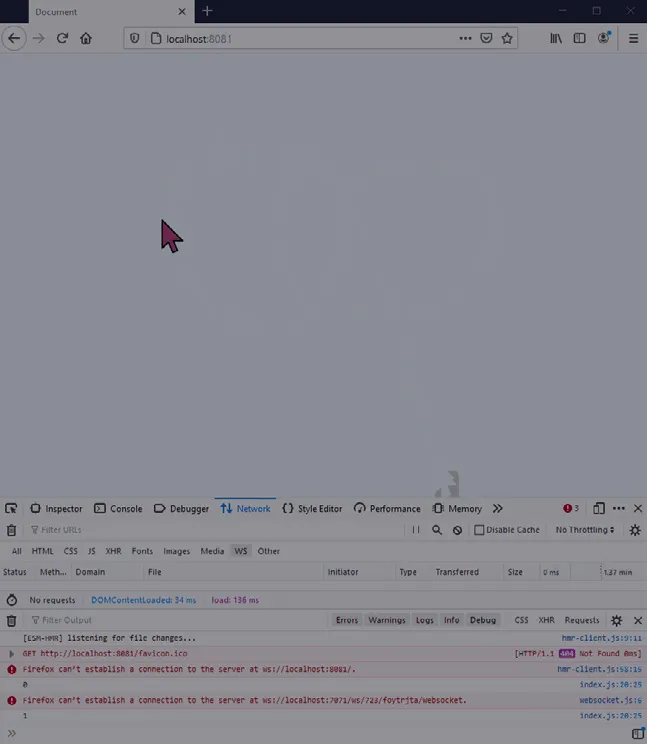 Figure 4.3: Realtime cursor movement powered by the SockJS WebSockets library
Scaling the web app
Section titled “Scaling the web app”You might notice that in both examples we’re storing the state in the Node.js WebSocket server — there is a Map that keeps track of connected WebSockets and their associated metadata. This means that for the solution to work, and for every user to see one another, they have to be connected to the same WebSocket server.
The number of active users you can support is thus directly related to how much hardware your server has. Node.js is pretty good at managing concurrency, but once you reach a few hundred to a few thousand users, you’re going to need to scale your hardware to keep all the users in sync.
Scaling vertically is often an expensive proposition, and you’ll always be faced with a performance ceiling of the most powerful piece of hardware you can procure. Additionally, vertical scaling is not elastic, so you have to do it ahead of time. You should consider horizontal scaling, which is better in the long run — but also significantly more difficult. Ably has a good architectural document explaining how they have approached vertical vs horizontal scalability for WebSockets.‘
What makes WebSockets hard to scale?
Section titled “What makes WebSockets hard to scale?”WebSockets are fundamentally hard to scale because connections to your WebSocket server need to be persistent. And even once you’ve scaled your server layer, you also need to provide a solution for sharing data between the nodes. Connection state needs to be stored out-of-process — this usually involves using something like Redis, or a traditional database, to ensure that all the nodes have the same view of state.
The persistent nature of WebSocket connections creates unique challenges that don’t exist with traditional HTTP request-response patterns. Each WebSocket connection maintains state on the server, consuming memory and processing resources even when idle. This stateful nature means that load balancing becomes more complex - you can’t simply round-robin requests across servers as you would with stateless HTTP traffic. Instead, you need sticky sessions or more sophisticated routing mechanisms to ensure that clients can maintain their connections and receive all relevant messages.
Moreover, when scaling horizontally, the challenge of message broadcasting becomes exponentially more complex. In our simple cursor-sharing demo, broadcasting a cursor position to all connected clients is straightforward when they’re all connected to the same server. However, when clients are distributed across multiple servers, you need a message bus or pub/sub system to ensure that messages from one server reach clients connected to other servers. This inter-server communication adds latency and complexity to your architecture, requiring careful design to maintain the real-time performance that WebSockets are meant to provide.
In addition to having to share state using additional technology, broadcasting to all subscribed clients becomes difficult, because any given WebSocketServer node knows only about the clients connected to itself.
There are multiple ways to solve this: either by using some form of direct connection between the cluster nodes that are handling the traffic, or by using an external pub/sub mechanism. This is sometimes called “adding a backplane” to your infrastructure, and is yet another moving part that makes scaling WebSockets difficult.
See WebSockets at Scale for a more in-depth read about the engineering challenges involved in scaling WebSockets. For production applications, you might want to consider using a realtime platform like Ably that is architected for scaling WebSockets.
Frequently Asked Questions
Section titled “Frequently Asked Questions”How do I build a WebSocket app with Node.js?
Section titled “How do I build a WebSocket app with Node.js?”Install the ws library with npm, create an HTTP server, and attach a WebSocketServer to it. Handle connection, message, and close events. On the client side, use the native WebSocket API to connect and exchange messages.
How do I broadcast messages to all WebSocket clients?
Section titled “How do I broadcast messages to all WebSocket clients?”Keep a Set of connected clients. On each message, iterate over the set and call
ws.send() for each client. Skip the sender if you do not want echo. Remove
clients from the set on disconnect.
How do I scale a WebSocket app beyond one server?
Section titled “How do I scale a WebSocket app beyond one server?”Use a pub/sub backplane like Redis to relay messages between server instances. Each server publishes incoming messages to Redis and subscribes for messages from other servers. A load balancer with sticky sessions routes clients to servers.
Related Content
Section titled “Related Content”- JavaScript WebSocket Guide - Complete JavaScript WebSocket reference
- WebSocket API Reference - Browser API used in the client-side code
- WebSockets at Scale - Scaling beyond the single-server demo
- WebSocket Protocol: RFC 6455 - Understanding the protocol behind your app
- WebSocket Close Codes - Handling disconnections gracefully